
Your Patio Slope Is Flooding Your New Slider
A brand new door can leak on day one, and the glass is almost never the reason.
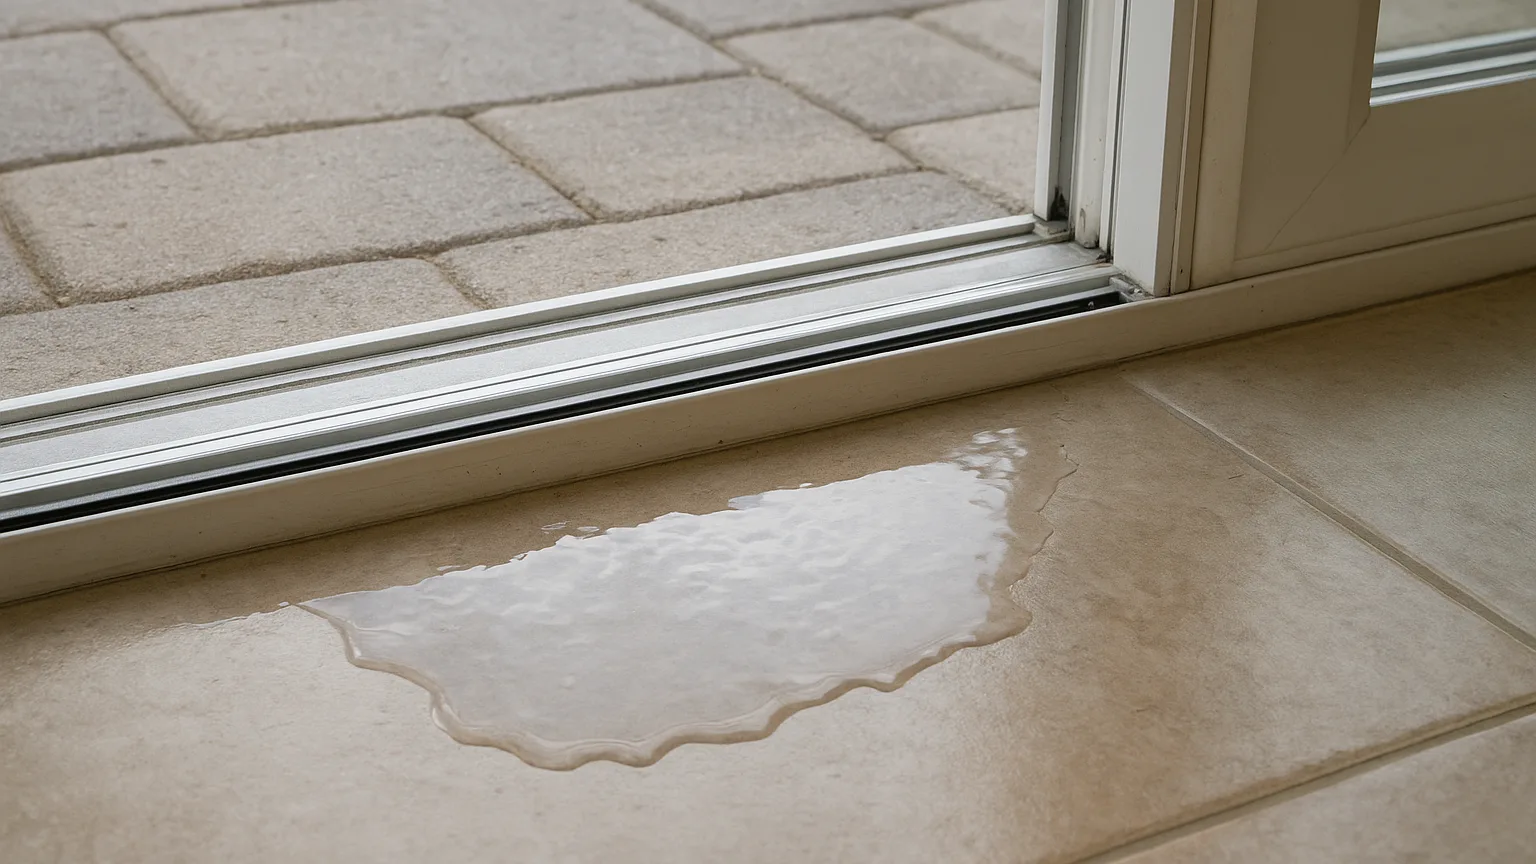
There is a specific phone call that comes in every January. A homeowner spent the summer building a dream backyard. New pavers. A pergola with a dining table under it. A wide multi panel slider that opens the whole back wall. Then the first real storm rolls through, and a thin dark line of water shows up on the floor just inside the track.
The glass is fine. The frame is fine. The installer did not forget anything inside the wall. The problem is sitting outside, a few inches below the threshold, and it was built after the door went in.
Patio height and patio slope decide whether your new slider leaks. A sliding door threshold is not a wall. It is a tray that drains, and it only works if there is somewhere for the water to go and some air space between the track and the ground. Raise the patio, flatten the slope, or wrap the opening in stone, and you have quietly turned a drain into a dam.
Why Sliders Are More Fragile Than Windows Here
A window sits high and dry. Rain hits the glass, runs down, drips off the sill, and lands on the wall below. A slider sits at floor level, so the bottom of the door is the lowest point of the entire wall assembly and the exact place water collects.
Most residential sliding doors have a sill with weep holes, small slots that let water blown into the track escape back outside. Those weeps need daylight, and they need the ground to be lower than they are. California homeowners get caught because our weather pattern hides the problem for months. A door installed in June looks perfect until December, long after the patio crew has packed up and the warranty conversation gets complicated. It is the same quiet pattern you see in energy performance, where how surroundings change window performance explains bills that make no sense on paper. The product spec is only part of the story. The condition it lives in is the rest.
The Four Details That Do The Damage
- Patio grade too high. New pavers or an overlay add one to three inches of height. That alone can bury the weep holes.
- Slope running the wrong way. A patio that looks flat often pitches back toward the house by a fraction of an inch per foot. Water follows it straight to the track.
- Pergola posts and footings. Concrete footings poured against the house block drainage and create a shallow pool right at the door.
- Stucco or stone wrapped tight to the frame. A beautiful surround that traps water behind it and gives it nowhere to exit except inward.
The Clearance Gap Your Sill Needs
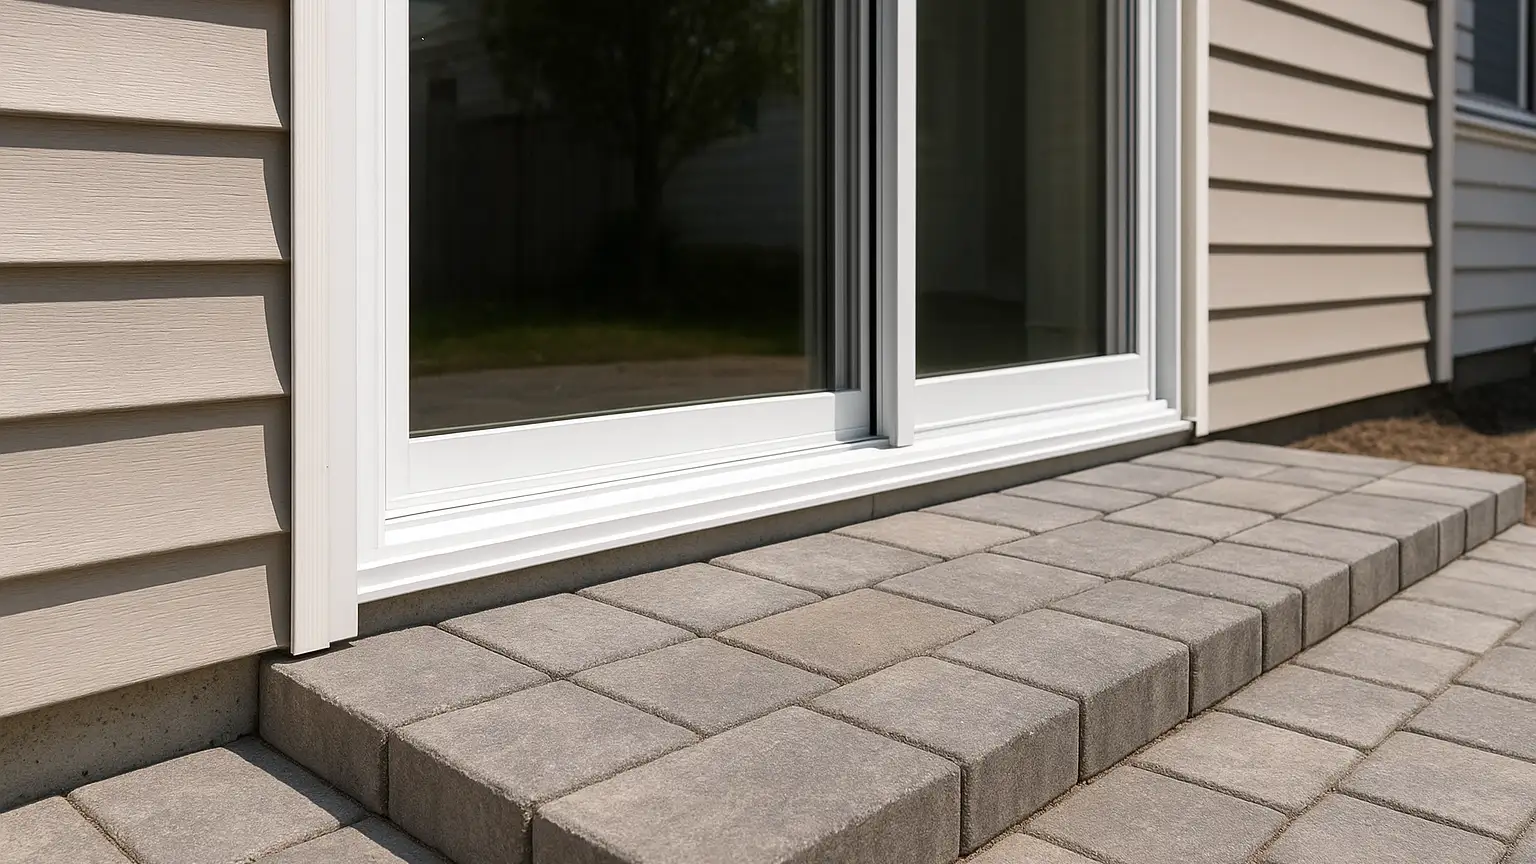
The rule most installers work to is simple. The finished patio surface should sit at least one half inch below the bottom of the door sill, and ideally closer to one and a half to two inches on an exposed wall with no overhead cover. That gap is not wasted space. It is the breathing room the weep system needs.
Here is where projects go sideways. The slider gets set first, measured off the existing slab. Then the hardscape crew arrives two months later with an overlay, a paver system with a bedding layer, or tile on top of that same slab. One and a quarter inch pavers over a one inch sand bed is well over two inches of new elevation. A sill that had perfect clearance now has negative clearance, and the threshold sits in a basin.
What To Measure Before The Hardscape Starts
- Total build up height of the new patio system, including base, bedding and surface material
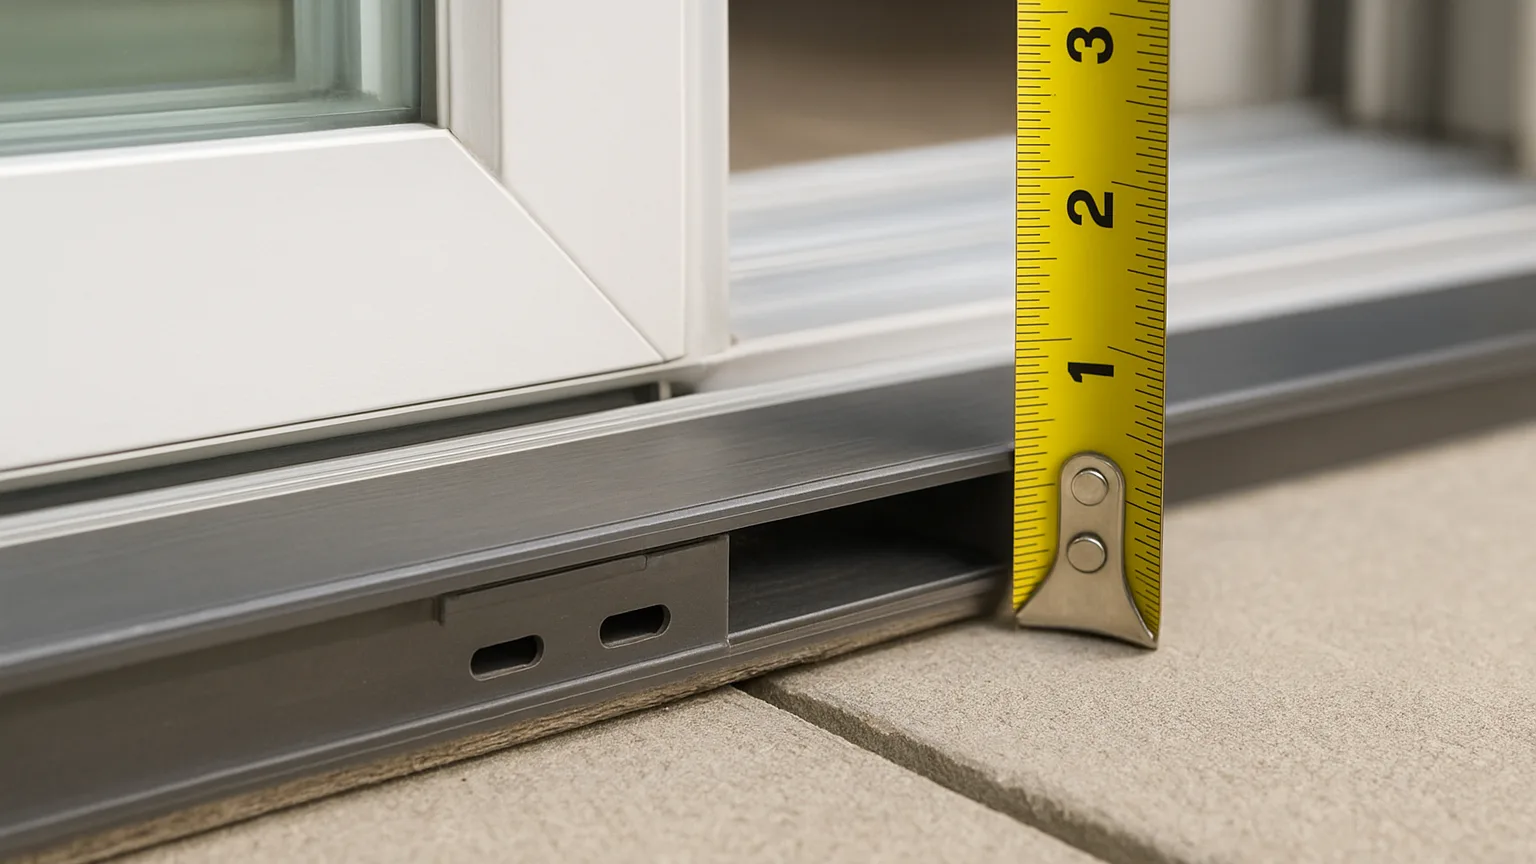
- Current sill elevation measured from the existing slab to the bottom edge of the track
- Weep hole location on the exterior face of the sill, and whether anything will cover it
- Door type because pocket sliders and flush sill units have far less tolerance than standard raised sill doors
Flush sill and near flush threshold doors deserve their own warning. They look incredible, they are fully accessible, and they show up constantly in designs built around blurring the indoor outdoor line, which also makes them the least forgiving product in the catalog. A flush sill almost always needs a trench drain or a linear slot drain directly in front of it, plus positive slope away from the house. Installing one on a patio that drains toward the home is asking for a floor repair.
<<
Fractions Of Fall That Keep Water Moving
Water does not care about your design intent. It moves downhill, and on a patio, downhill is measured in fractions. The working target for hardscape next to a house is roughly one quarter inch of fall per foot, running away from the building, for at least the first several feet. On a ten foot deep patio, that is about two and a half inches of drop. Many homeowners resist that because they want the surface to look level with the interior floor, and that tension is exactly where leaks are born. A nearly flat patio does not drain, it just holds. Then a heavy California storm hits sideways, the water sheet runs along the surface, and the door sill is the lowest edge it finds.
There are better compromises:
- Trench drain at the threshold running the full width of the opening, tied into a real outlet, not a dry well that silts up
- A gravel or stone drainage strip four to six inches wide between the door and the finished patio
- A deliberate step down of one to two inches just outside the door, which also reads as an intentional design line
- Slot drains set flush in the paver field for patios where a visible grate would break the look
Capacity matters too. A two inch channel drain with one outlet will back up on a wide slider during a real downpour. Oversize it. The cost difference is small compared to replacing engineered flooring and base trim.
Climate pushes these numbers around more than people expect, and comparing notes with how installers handle extreme conditions in the Southwest, like the lessons from arizona the heat test, makes it clear that detailing has to match local weather rather than a generic spec sheet. Coastal fog, inland heat swings and Pacific storm bands all load a threshold differently.
Shade Structures That Invite Water In
A pergola helps and hurts at the same time. Solid roof covers are genuinely protective. They cut the wind driven rain reaching the door, they shade the glass, and they reduce thermal stress on the frame. Louvered and open slat structures do much less for rain, though they are excellent for heat control, which is why thoughtful planning around all-day shade sanctuaries pairs so well with a glass upgrade on a south or west wall. The hurt comes from how pergolas attach and how they drain.
Ledger Attachments Above The Door
Many pergolas get bolted to the house with a ledger board mounted into the wall above the slider header, and every one of those lag bolts is a hole in your weather barrier. Done right, each fastener gets sealed and the ledger gets flashed with a metal cap that sheds water over the face of the wall. Done fast, it is a row of unsealed holes directly above the most expensive glass in the house. Water tracks down inside the wall cavity and shows up at the head of the door frame, which looks exactly like a leaking door and is not.
Posts, Footings And Roof Water
Post footings poured against the foundation create a hard edge that interrupts the slope. Water hits it, pools, and sits. Keep footings set back from the house, slope the surrounding surface around them, and never let a footing top out above the door sill.
A solid patio cover also sheds a surprising volume of water off one edge. If that edge dumps onto a patio with no slope, you have built a waterfall aimed at your door. Gutter the cover, pipe it out, and keep the discharge point well away from the opening. Exterior shades and drop screens redirect water too, which is worth thinking through alongside best patio blinds when you lay out the covered area.
Stucco, Stone And The Seam Nobody Checks
The last detail fails most often and is hardest to see. When a slider gets wrapped in new stucco, stone veneer, or tile, the finish material meets the door frame at a joint. That joint has to be a sealant joint with a proper backer, not a hard bond of mortar or stucco pressed against aluminum or vinyl. Hard materials and window frames move at different rates. The frame expands and contracts with heat. Stucco does not. In hotter inland and desert climates the movement is bigger, which is part of why frames rated for Arizona heat get judged on expansion as much as on glass packages. Within a season or two, that rigid connection cracks, and the crack becomes an entry point that is invisible from six feet away.
Stone veneer adds another layer of risk. Veneer needs a weather resistive barrier behind it, a drainage plane, and weep screed at the bottom so water that gets in can get out. Install veneer tight to a door with no weep path and the wall becomes a sponge that drains toward the lowest opening.
Questions Worth Asking Your Installer
- Is there a sealant joint with backer rod between the finish material and the door frame, or is it bonded hard?
- Where is the weep screed at the bottom of new stucco or veneer, and is it clear of the new patio surface?
- Who flashes the sill pan and does it drain to the exterior?
- Is the sequencing right, meaning the door, flashing, barrier and finish go on in that order?
Build The Backyard And The Glass As One Project
The fix for all of this costs almost nothing when it happens on paper and thousands when it happens after a storm. Sequence the work so the door installer and the hardscape crew see the same elevations, agree on the finished patio height before anyone pours or sets pavers, and build in a drain or a visible step instead of hoping a flat surface will shed water. Write the target numbers down. One half inch minimum clearance below the sill, one quarter inch per foot of fall away from the house, and a real outlet for every drain.
A new slider should be the best part of the house, the wall that disappears on a warm evening and makes the yard feel like another room. It earns that only when the ground outside it is built to carry water away instead of toward it. Check the heights before the finish materials go down, and the first winter storm becomes something you watch through the door rather than something you mop up behind it.
<<